Skip to product information
1 of 7
Pacific Northwest National Parks Camper Light Box Set Laser Cut File

Made for this cut file

Pacific Northwest National Parks Camper Light Box Set Laser Cut File

These stickers fit this design at its original size. The cut file download already holds the cut files laid out to match the sheets.

Need both? Choose “Sticker pack + digital cut file” and save $3.18.

Pacific Northwest National Parks Camper Light Box Set Sticker Pack

Pacific Northwest National Parks Camper Light Box Set Sticker Pack

Printed to orderFree shipping in the contiguous U.S.4 designs8 printed sheets

Pack

Color the Pacific Northwest National Parks Camper Light Box Set without picking up a brush. This MEJA Design Studio sticker pack is printed to match its cut file layer by layer: stick each sheet on your wood, cut wood and sticker together on your laser, and the pieces come out colored and ready to stack.

The 4 campers

  • Crater Lake: 2 sheets, 17 parts
  • Mount Rainier: 2 sheets, 17 parts
  • North Cascades: 2 sheets, 17 parts
  • Olympic: 2 sheets, 17 parts

What you get (physical item, shipped to you)

  • 8 printed sheets, 2 for each camper (largest about 19.3 x 9.4 in), UV printed in full color on laser-safe, PVC-free satin sticker paper
  • Artwork for 68 parts, 17 for each camper: Crater Lake, Mount Rainier, North Cascades and Olympic
  • Every sheet carries its camper's name and its number
  • Three registration crosshairs and at least five registration dots on every sheet, for LightBurn's Print and Cut and for lasers that line up by camera
  • A print-and-cut file for every sheet (SVG, DXF, PDF, AI), in a folder for each camper, with the cut lines in exactly the same places, sent with the pack, and a how-to

How it works

  1. Sand your 1/8 in (3 mm) plywood smooth, wipe off the dust with a lightly damp rag and let it dry. Stick the sheet on, pressing from one edge outward.
  2. Open that camper's cut file with the same number and line the laser up on the crosshairs (LightBurn: Tools > Print and Cut), or on the dots.
  3. Cut with the sticker on. Wipe off the soot with a lightly damp rag.
  4. Cut the other parts from each camper's main cut file on bare plywood, and build each camper as its guide says: the colored face of every part is the one that shows (a lining's looks into the camper).

Good to know

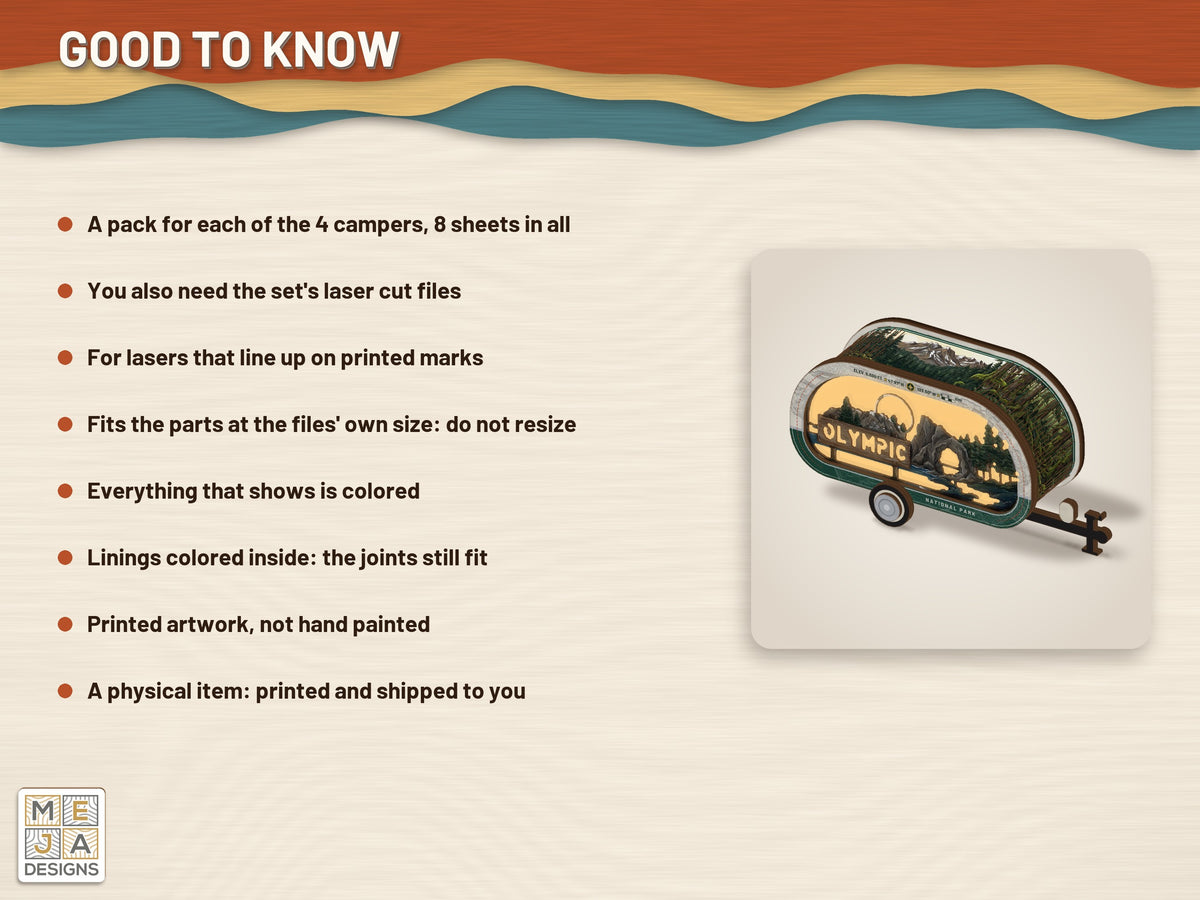
  • The paper is on the faces that show only, never on a joint, so every finger, tab and slot of the box fits as it did.
  • The front and the back are lined: each lining is glued on its face's inside, bare wood on bare wood, its colored face looking into the box. It colors the edge of the face that stands out beyond the wall, and the wall's tabs go through the linings only, so no slot shows outside.
  • The wall's paper is cut with its slits, so it bends with the wood.
  • The axle is doubled: its two halves are glued back to back, paper outward, so it is black from the hitch and from the rear. No part is left bare.
  • The back's lining is a warm glow inside the camper, seen through the scene when it is lit.
  • Made for the parts at the file's own size. If you resize the cut file, the stickers no longer fit.
  • The artwork is printed, not hand painted. Printed colors can differ slightly from your screen.

You also need

Options

  • Sticker pack only (you already have the files)
  • Sticker pack + digital cut file (the files are sent to you after purchase)

If you choose the pack with its cut file

The sticker pack is printed and shipped to you. The cut file is a digital download: its link is on the order page right after checkout, and it is emailed to you as well.

View full details